Un classico che è presente nella collezione di ogni appassionato di mezzi tedeschi della seconda guerra mondiale: la kubelwagen progettata dall'ingegner Ferdinand Porsche.
Il modello della tamiya dedicato alla piccola VW è di gran lunga superiore alla vecchia scatola dell'italeri, e presenta dettagli più fini ed una correttezza dimensionale e di proporzioni maggiore.
Questa piccola bellezza era sul tavolo di lavoro in attesa dell'ispirazione per finirla da molto tempo, almeno due anni, durante i quali di tanto in tanto mi sono dilettato a montare la maggior parte dei pezzi ed a modificare ed apportare piccole migliorie.
Il modello, come praticamente tutti i Tamiya, si monta da solo e presenta incastri precisissimi. Il lavoro di dettaglio è costituito solo dal rifare in lamierino sottile gli agganci del parabrezza anteriore, sostituire le maniglie degli sportelli in plastica fornite dal kit (veramente brutte) con mezzi punti da spillatrici (ogni punto è stato diviso a metà e piegato per dagli la forma desiderata), ed a rifare il supporto per il notek posteriore.
La capotte è invece un prestito della kubelwagen italeri proveniente dalla banca pezzi, su cui sono stati incollati dei pezzi di fil di ferro per simulare la struttura portante. Il tutto è stato poi ricoperto con un fazzolettino imbevuto di acqua e vinavil per texturizzare la superficie.
 |
| La foto che ha ispirato il modello / the photo that ispired the model |
Volendo ambientare il modello nell'Ottobre del 1941 in Russia, ho cercato anche di riprodurre i finestrini laterali della kubelwagen, che spesso compaiono in tantissime foto d'epoca. Per fare ciò ho ritagliato a misura quattro piccoli pezzi di acetato, su cui poi sono state applicate delle cornici fatte di scotch carta. L'effetto sembra abbastanza convincente a mio avviso.
Prima di chiudere tutto ho fatto un po' di taglia e cuci con alcuni vecchi figurini di plastica ed ho creato un guidatore.
 |
| dettaglio dei finestrini / side windows detail |
la verniciatura non ha presentato problemi, mentre per l'invecchiamento e lo sporco mi sono rifatto alle foto dell'ottobre russo (non a caso chiamato rasputiza, la stagione del fango). Con l'uso di gesso dipinto in varie tonalità di sabbia e marrone ed il trasparente lucido ho simulato il fango bagnato. L'erba presente sulla parte bassa del modello così come quella sulla basetta è la consueta canapa.
Gli accessori sono tutti autocostruiti.
 |
i cartelli sono autocostruiti in balsa /
the roadsigns are scratch with balsa wood |

-----------------------------------------------------------
A classic piece that is in the collection of any German WWII vehicles fan: The kubelwagen, designed by the engineer Ferdinand Porsche.
The Tamiya model dedicated to the small VW is far superior to the old italeri one, and has finest details and more accuracy in dimensions.

This little beauty was on the workbench waiting for inspiration to finish it for a long time, at least two years, during which sometimes I managed to mount most of the parts and to modify and make small improvements.
The model, as virtually all Tamiya, fits perfectly and is very precise. The detail work is constituted only by the substitution in thin metal sheet of the front hooks of the windshield. I replaced the plastic door handles provided by the kit (really bad) with half staplers points (each point was divided in half and folded in the desired shape) I also re-built the support for the back notek .
The canvas is a loan from the Italeri Kubelwagen from the spare box, some pieces of wire were glued to simulate the structure. The whole was then covered with a tissue dampened with water and PVA glue for texturing the surface.
 |
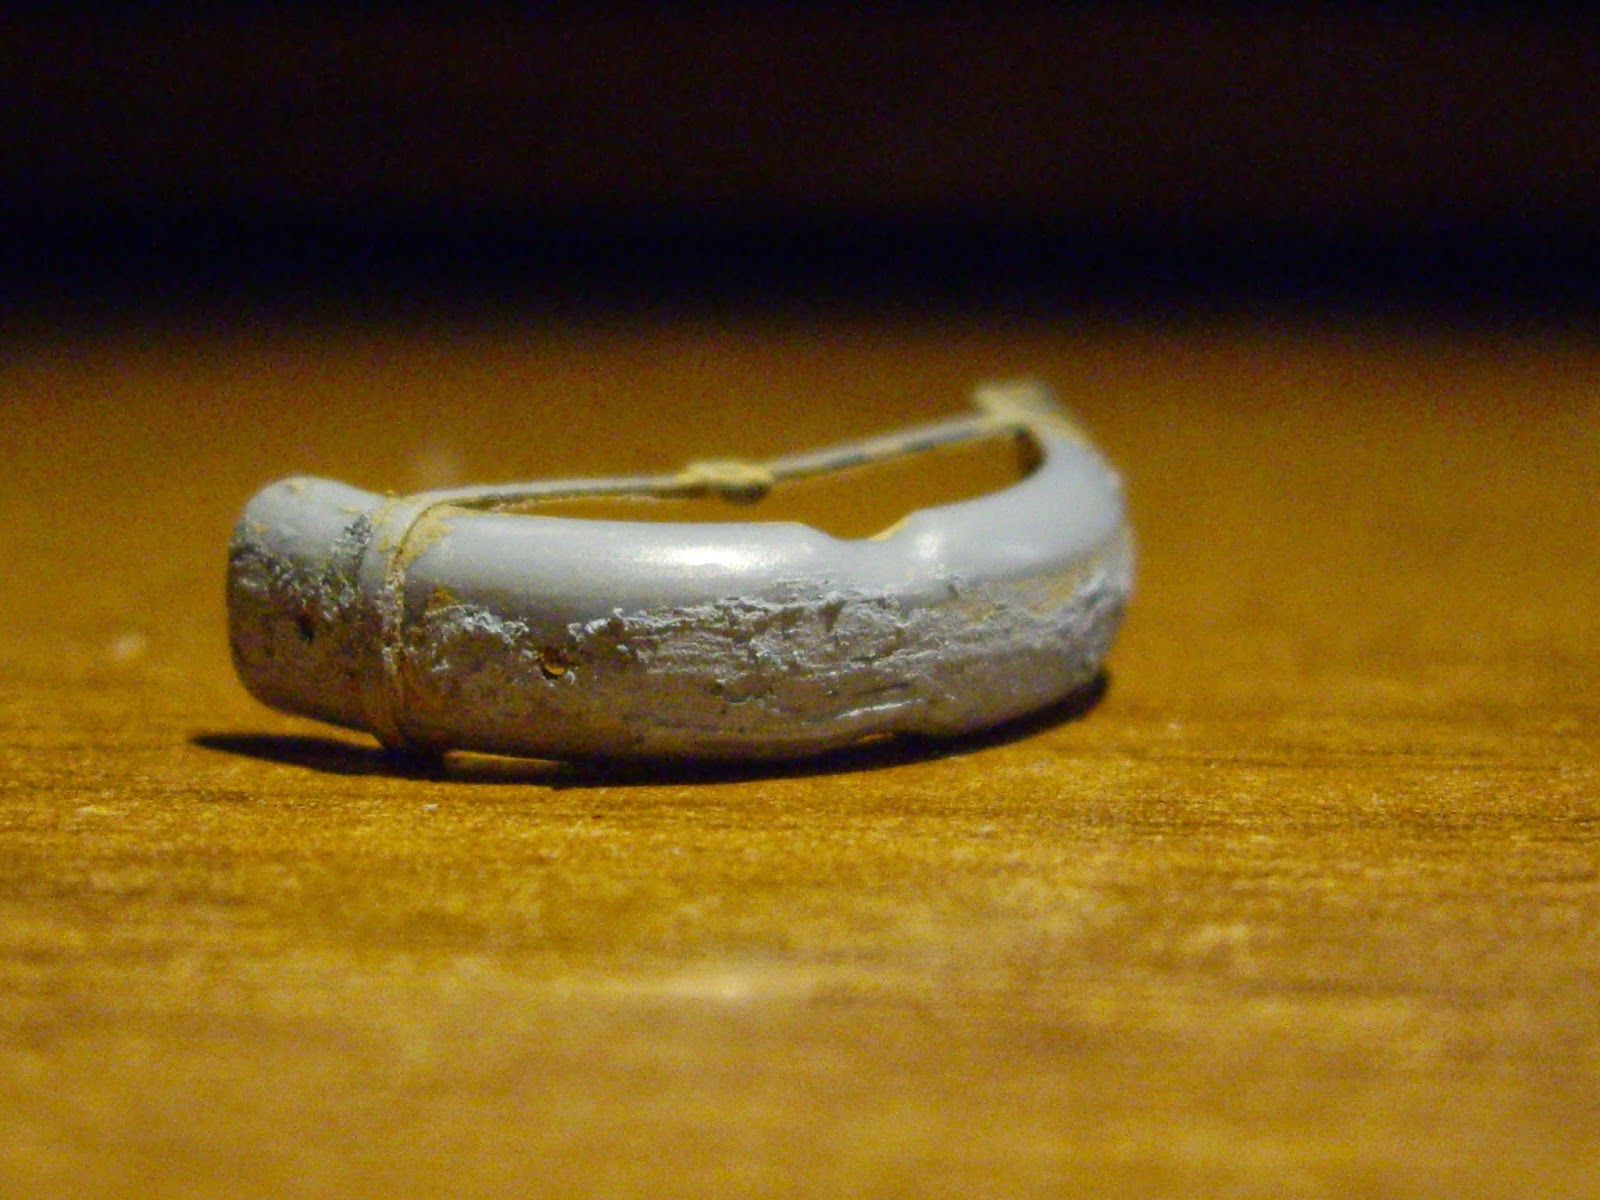
| dettaglio della capotte / close up of the canvas |
I wanted to set the model on October of 1941 in Russia, so I tried to reproduce the side windows of the Kubelwagen, which often appear in many vintage photos. To do that I cut to size four small pieces of acetate, which were then applied to the frames made of paper tape. The effect looks pretty convincing in my opinion.
Before closing everything I did a little cut work with some old plastic figurines and I have created a driver.
 |
| accessori / accessories |
the painting has presented no problems, while for the aging and dirt I have looked the Russian October photo (not surprisingly called rasputiza, the season of mud). With the use of plaster painted in various shades of brown and sand and with the clear gloss I simulated the wet mud. The grass at the bottom of this model as well as that on the base is the usual hemp.
All the accessories were scratch-built.

 Prima di inserirlo in sede ho dato al pezzo una mano di color cromo in bomboletta (come quelle che si trovano nei brico) ottenendo un buon risultato, che mi ha molto soddisfatto.