giovedì 11 settembre 2014

Kubelwagen tamiya 1/35

Un classico che è presente nella collezione di ogni appassionato di mezzi tedeschi della seconda guerra mondiale: la kubelwagen progettata dall'ingegner Ferdinand Porsche.
Il modello della tamiya dedicato alla piccola VW è di gran lunga superiore alla vecchia scatola dell'italeri, e presenta dettagli più fini ed una correttezza dimensionale e di proporzioni maggiore.
Kubelwagen 1/35

Questa piccola bellezza era sul tavolo di lavoro in attesa dell'ispirazione per finirla da molto tempo, almeno due anni, durante i quali di tanto in tanto mi sono dilettato a montare la maggior parte dei pezzi ed a modificare ed apportare piccole migliorie.

Il modello, come praticamente tutti i Tamiya, si monta da solo e presenta incastri precisissimi. Il lavoro di dettaglio è costituito solo dal rifare in lamierino sottile gli agganci del parabrezza anteriore, sostituire le maniglie degli sportelli in plastica fornite dal kit (veramente brutte) con mezzi punti da spillatrici (ogni punto è stato diviso a metà e piegato per dagli la forma desiderata), ed a rifare il supporto per il notek posteriore. 
La capotte è invece un prestito della kubelwagen italeri proveniente dalla banca pezzi, su cui sono stati incollati dei pezzi di fil di ferro per simulare la struttura portante. Il tutto è stato poi ricoperto con un fazzolettino imbevuto di acqua e vinavil per texturizzare la superficie. 

Kubelwagen vero
La foto che ha ispirato il modello / the photo that ispired the model
Volendo ambientare il modello nell'Ottobre del 1941 in Russia, ho cercato anche di riprodurre i finestrini laterali della kubelwagen, che spesso compaiono in tantissime foto d'epoca. Per fare ciò ho ritagliato a misura quattro piccoli pezzi di acetato, su cui poi sono state applicate delle cornici fatte di scotch carta. L'effetto sembra abbastanza convincente a mio avviso.
Prima di chiudere tutto ho fatto un po' di taglia e cuci con alcuni vecchi figurini di plastica ed ho creato un guidatore.
Kubelwagen 1/35
dettaglio dei finestrini / side windows detail
la verniciatura non ha presentato problemi, mentre per l'invecchiamento e lo sporco mi sono rifatto alle foto dell'ottobre russo (non a caso chiamato rasputiza, la stagione del fango). Con l'uso di gesso dipinto in varie tonalità di sabbia e marrone ed il trasparente lucido ho simulato il fango bagnato. L'erba presente sulla parte bassa del modello così come quella sulla basetta è la consueta canapa.

Gli accessori sono tutti autocostruiti.


Kubelwagen 1/35
i cartelli sono autocostruiti in balsa /
the roadsigns are scratch with balsa wood
Kubelwagen 1/35 retro
Kubelwagen 1/35 muso
-----------------------------------------------------------
A classic piece that is in the collection of any German WWII vehicles fan: The kubelwagen, designed by the engineer Ferdinand Porsche. 
The Tamiya model dedicated to the small VW is far superior to the old italeri one, and has finest details and more accuracy in dimensions. 

Kubelwagen 1/35This little beauty was on the workbench waiting for inspiration to finish it for a long time, at least two years, during which sometimes I managed to mount most of the parts and to modify and make small improvements. 

The model, as virtually all Tamiya, fits perfectly and is very precise. The detail work is constituted only by the substitution in thin metal sheet of the front hooks of the windshield. I replaced the plastic door handles provided by the kit (really bad) with half staplers points (each point was divided in half and folded in the desired shape) I also re-built the support for the back notek . 
The canvas is a loan from the Italeri Kubelwagen from the spare box, some pieces of wire were glued to simulate the structure. The whole was then covered with a tissue dampened with water and PVA glue for texturing the surface. 
Kubelwagen 1/35 capotte
dettaglio della capotte / close up of the canvas
I wanted to set the model on October of 1941 in Russia, so I tried to reproduce the side windows of the Kubelwagen, which often appear in many vintage photos. To do that I cut to size four small pieces of acetate, which were then applied to the frames made ​​of paper tape. The effect looks pretty convincing in my opinion. 
Before closing everything I did a little cut work with some old plastic figurines and I have created a driver. 

Kubelwagen 1/35 dettagli
accessori / accessories
the painting has presented no problems, while for the aging and dirt I have looked the Russian October photo (not surprisingly called rasputiza, the season of mud). With the use of plaster painted in various shades of brown and sand and with the clear gloss I simulated the wet mud. The grass at the bottom of this model as well as that on the base is the usual hemp.

All the accessories were scratch-built.


Kubelwagen 1/35


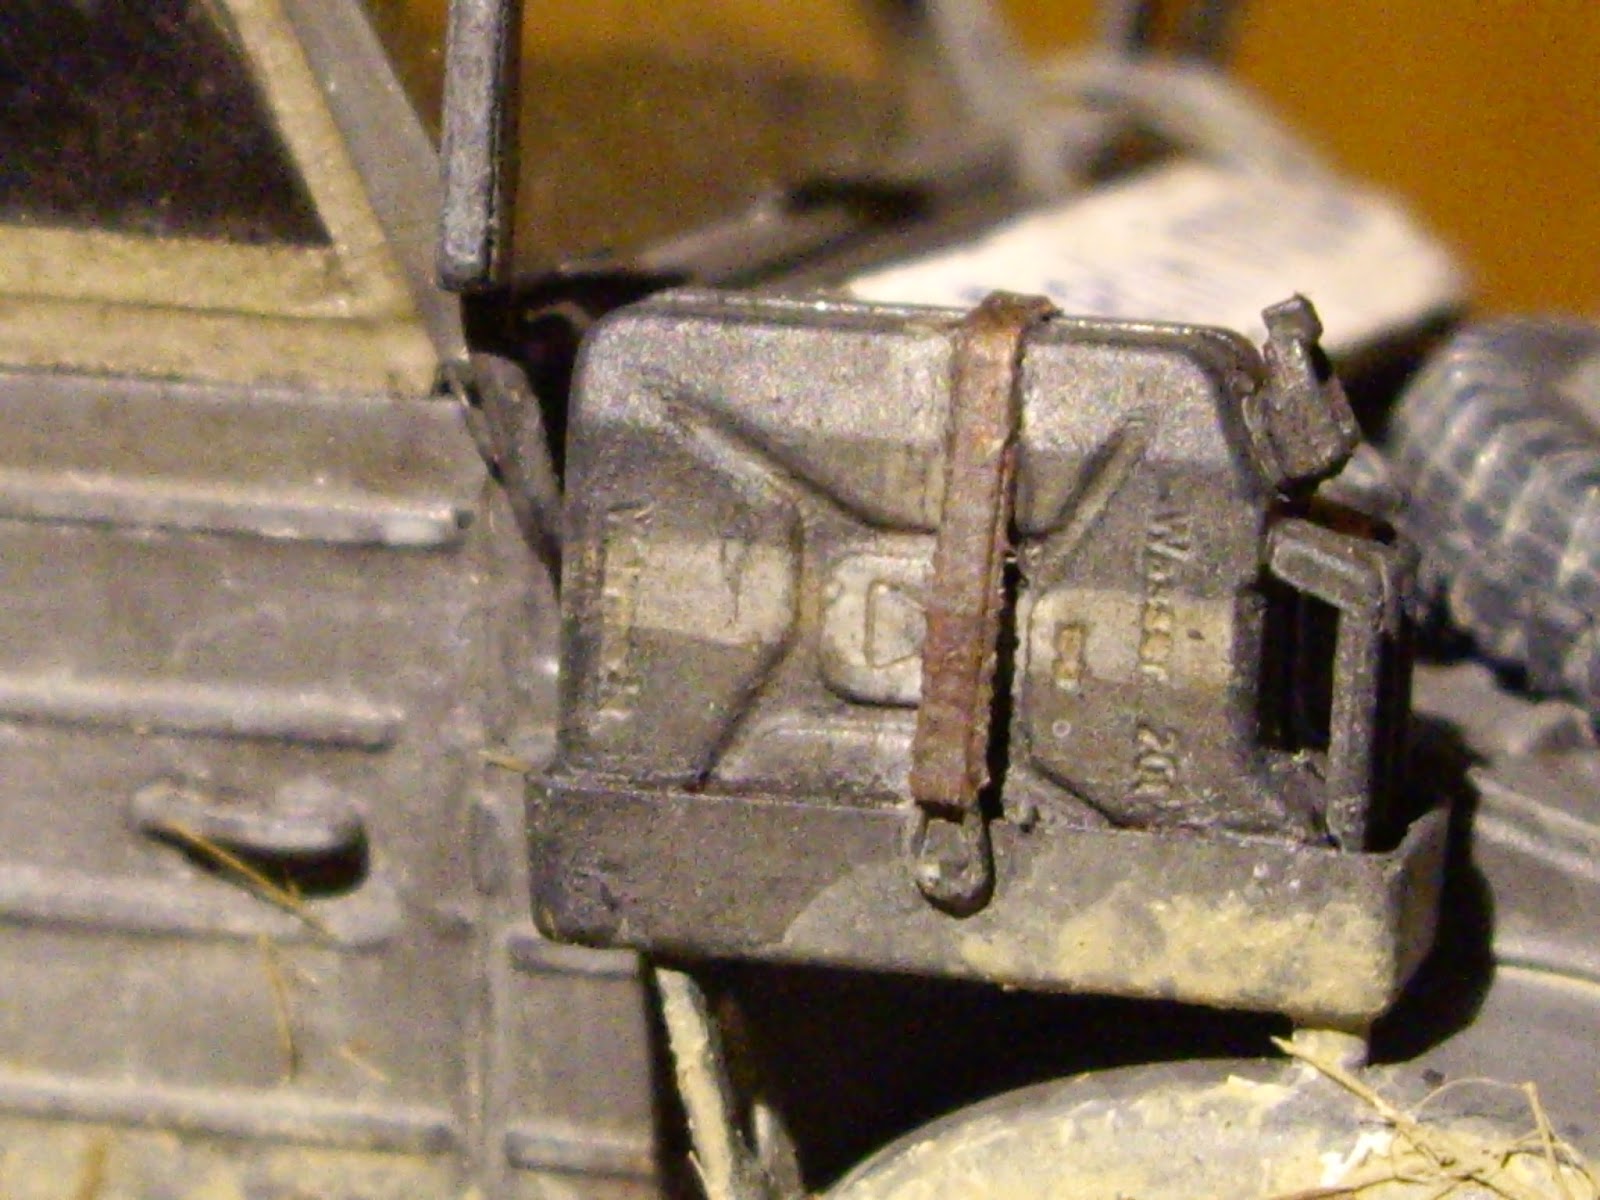
Kubelwagen 1/35 tanica

Kubelwagen 1/35


Kubelwagen 1/35


DKW 350 NZ tamiya 1/35 & Alpine german motorcyclist

L'ultima scenetta sfornata in questi giorni, una DKW Tamiya accoppiata ad un soggetto Alpine miniatures.
motorcycle crew
La scena d'insieme / the overall view
La DKW è un modello in circolazione da tempo, pensato per essere veloce da montare è abbastanza basico per quel che riguarda il montaggio ma allo stesso tempo non sacrifica troppo i particolari.
DKW 350 1/35I lavori di modifica, svolti con l'ausilio di una pletora di foto e documentazioni varie reperite on-line, ha riguardato soprattutto i raggi delle ruote, rifatti uno ad un con del sottilissimo fil di ferro ( in verità è un lavoro più noioso che difficile, ma ne vale la pena, perchè i raggi in plastica gridavano vendetta). Successivamente sono passato a rifare il meccanismo del cambio ed ho aggiunto il clacson accanto alla batteria.La catena, che da kit è fornita senza particolari, è stata semplicemente incisa con il cutter, dato che una volta montata risulta poco visibile. Il faro anteriore è stato anch'esso modificato, aggiungendo u semicerchio di fil di ferro per simulare il supporto dello stesso. Infine sono stati aggiunti un po' di cablaggi.

DKW 350 1/35
Un modello sicuramente divertente, anche se per portarlo agli standards moderni richiede qualche lavoro di modifica.

Il figurino Alpine non è stato in alcun modo modificato (certo non ne ha bisogno!) ma solo dipinto al meglio delle mie (scarse) possibilità seguendo anche in questo caso la documentazione trovata su internet. Si compone di pochi pezzi ed il dettaglio ovviamente è pazzesco. Che altro dire...è un Alpine, quindi una garanzia.

Alpine motorcyclist
La scena che fa da contorno ai due soggetti è stata fatta tutta con elementi naturali con una sola eccezione, le foglie di quercia Plus model (ottimo prodotto, che aggiunge un tocco magico e realistico al tutto). Per il resto infatti il terreno non è altro che vero terriccio setacciato (mentre il selciato è fatto di sabbia), la vegetazione proviene da una passeggiata nel giardino della mia fidanzata (c'è persino qualche ciuffo di finocchio selvatico), con l'aggiunta dell'immancabile canapa da idraulico e della posidonia. Il sottobosco si compone oltre che delle foglie tagliate al laser Plus model, anche di varie erbe aromatiche da cucina sminuzzate e da una foglia secca raccolta e triturata.
I tronchi, infine, sono ramoscelli di quercia anch'essi raccolti in natura (ma penso che i rami di un po' tutte le piante siano adatti allo scopo).
Il tutto è stato poi passato più volte con acqua e vinavil.
stone wall diorama
Il diorama in fase di costruzione/ the diorama in progress
dettaglio muro pietra
Dettagli del muro / wall detail
DKW 350 1/35
Il muro invece è composto da pezzi di gesso scagliola tagliati e spezzati con l'ausilio di un taglierino, incollati su un supporto di legno, spennellati di acqua e vinavil e dipinti di grigio. Una volta che tutto si è asciugato, ho provveduto a inserire tra gli interstizi più profondi piccoli pezzi di muschio per terrari (l'altra mia piccola passione). A sigillare il tutto ci ha pensato l'ennesima mano di acqua e vinavil (fortunatamente ho la tanica da 5 chili di colla vinilica).
Il risultato finale è quello in foto, la basetta è fatta di semplicissimo legno multistrato tagliato a misura, smussato agli angoli per ottenere un cubo e poi dipinto con varie tonalità di marrone per ottenere il tono di legno desiderato.

Un lavoro piccolo, che ha richiesto poche settimane di lavoro (anche se spalmate su un tempo più lungo) ma che mi ha soddisfatto molto e mi ha permesso di testare una nuova tecnica (per il muro) su cui riflettevo da tempo.

--------------------------------------------------------------------------------------------------------------------------

The last kit made in these days, a DKW Tamiya with a subject from Alpine miniatures.
The DKW is  a long time model, thought to be quick to assemble, so it is basic in the building but at the same time does not sacrifice particoulars. The modification work was carried out with the aid of a plethora of photos and various documents found on-line, it has focused mainly on the spokes of the wheels, redone one by one with the thin wire (in truth is a tedious work, but not hard, and it's worth it, because the spokes made of plastic cried vengeance). Then I switched to rebuild the shift mechanism and added the horn next to the  batteries .The transmission chain, which in the kit is supplied without details was simply engraved with the cutter, because once mounted is not very visible. The headlight was also modified by adding a semicircle of wire to simulate the support of the same. Finally I have added wirings .A definitely fun model, though to bring it to modern standards requires some extra work.


The  Alpine figure has not been modified in any way (certainly does not need it!) But only painted to the best of my (limited) possibilities, even in this case I have followed the documentation found on the internet. The subject consists of a few pieces and the detail is obviously amazing. What else to say ... it's an Alpine, so it is guaranteed.
The scene that surrounds the two subjects was made with all natural elements with one only exception, the leaves of oak  made by Plus model (excellent product, which adds a touch of magic and realistic). For the rest, the ground is nothing but true sieved soil (while the street is made of sand), the vegetation comes from a walk in the garden of my girlfriend (there's even a few tufts of wild fennel), with the inevitable addition of hemp and sea grass. The undergrowth consists of the laser-cut leaves by Plus model, but it is also made by various herbs from the kitchen and by a dry leaf chopped and shredded.
The trunks, are also oak twigs collected in nature (but I think the branches of all the trees are fit for purpose).
DKW 350 1/35The whole was then passed several times with water and vinavil. The wall instead is composed of pieces of plaster cut and broken with the aid of a cutter, glued on a support of wood, brushed with water and PVA glue and painted in gray . Once everything has dried, I proceeded to enter the interstices between the deepest pieces with small portions of moss for terrariums (my other little passion). Another coat of PVA glue and water sealed everything (fortunately I have the  5 pounds canister of glue) .The final result is in the photo, the base is made of simple plywood cut to size, with angles edged to get a cube and then painted with various shades of brown to get the wood tone I want.

A little work, which required a few weeks of work (even if spread over a longer time) but I was very satisfied, and this allowed me to test a new technique (for the wall) I had considered for a long time.

diorama foglie